 Blog ZARI
Drip irrigation: seven field checks that save water and protect yield
· ZARI AGRI
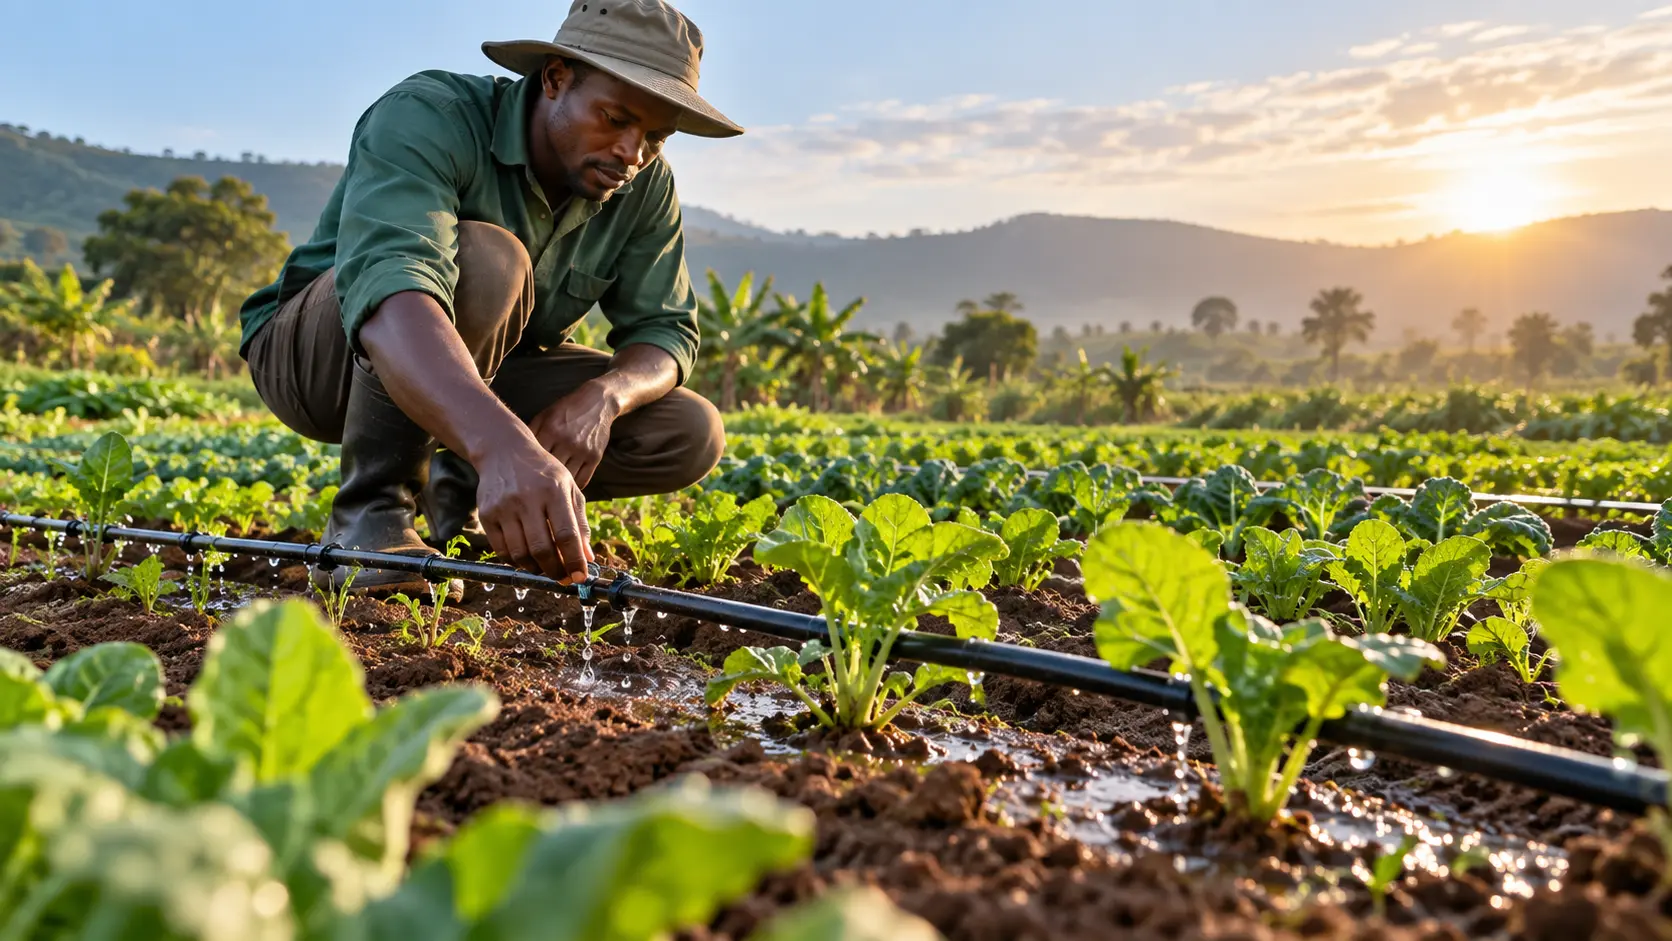
Drip irrigation can reduce water losses, but only when pressure, filtration, spacing and irrigation time match the crop and soil. A short field check often finds problems before plants show stress.
1. Walk the line while the system is running
Look for leaks, kinked laterals, disconnected fittings and unusually dry or flooded plants. Compare the beginning and end of several lines; a large difference can indicate pressure loss or clogging.
2. Check filters and water quality
Clean filters according to the water source and the manufacturer’s instructions. Sand, algae and mineral deposits can block emitters. Use only treatment methods compatible with the system and local water analysis.
3. Observe the root zone, not only the surface
Dig a small inspection hole after irrigation. The wetting pattern should reach active roots without draining far below them. Sandy soils generally need shorter, more frequent applications than heavier soils.
4. Measure instead of guessing
- Record start and stop times for each block.
- Use simple containers to compare emitter discharge.
- Inspect pressure at representative points.
- Adjust schedules after rain, strong heat or a crop-stage change.
- Repair leaks immediately and flush line ends safely.
- Keep fertilizers fully soluble when using fertigation.
- Write down crop response and soil moisture observations.
Match irrigation to the crop
Seedlings, flowering crops and mature plants do not have the same root depth or water demand. Weather information helps, but the final decision should combine crop stage, soil condition and field observation.
Do not inject acids, chlorine or fertilizer without correct equipment, training and local safety guidance. Incorrect concentrations can damage crops, equipment and people.
Plan irrigation with better field information
Use ZARI weather and advisory tools to record your crop, location, soil and symptoms before adjusting the schedule.
Open ZARI